Veil Mirror: Ghost Control
Revision 0: World Building

Hello there!
It’s a me, Chris. I’ll be writing about how we accomplish different things in the game on a technical level. So massive desillusionment (if that’s a word) ahead.
Today, lets talk about how we deal with building play space and what to do to light it up.
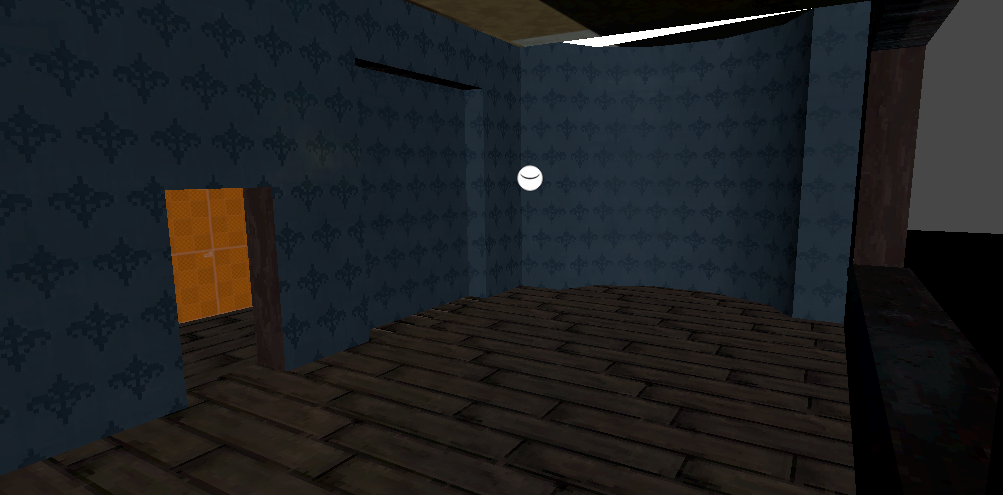
I have my game development origins in making maps for a number of Valves games. So for building the house layout there was only one option. I wanted a CSG workflow. A technique long forgotten by many yet extremely powerful.
It allowed me to lay out the house in round about an hour or two.
And it’s not a small house.
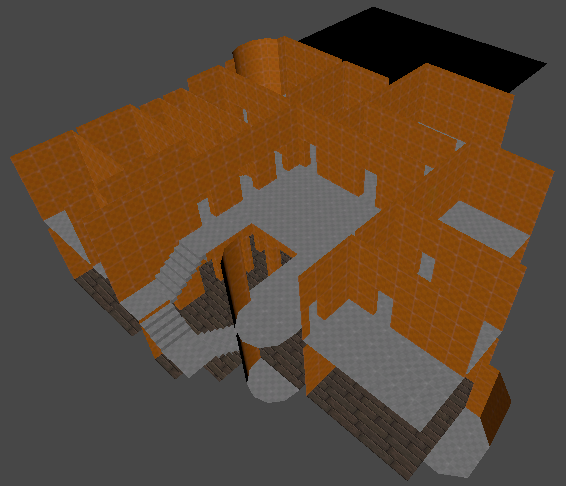
As it goes with rough layouts, it consists of primitive shapes and some measurement textures only. Those textures are great to get the scale of things right. Everyone surely has come across the games with exceedingly large toilets or chairs you’d have to climb to sit on. Measurement textures are a great way to avoid that from the beginning.
A little texture creation and painting walls to get a rough idea of a room.
It’s really easy and I don’t have to leave Unity to change the geometry or the textures.
With some brushwork and texture work we can quickly arrange a basic dining room. As that’s what it is.
When that’s all done it’s easy to add in the details to make it look awesome.
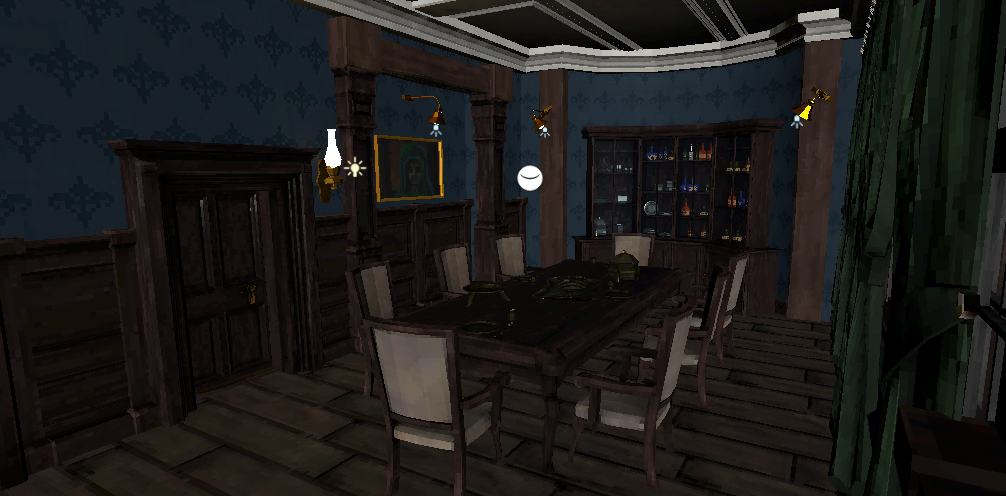
Of course making custom fit assets like the round trim on the ceiling is somewhat more involved but that’s a topic for another day.
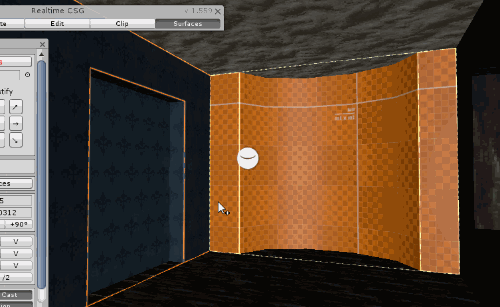
So CSG options in Unity. There are two as far as I am concerned. SabreCSG and RealtimeCSG. The latter used to cost about 50 bucks on the Asset Store but it’s now Open Source and you can get yourself a copy on github. And maybe contribute to its development.
I opted for RealtimeCSG because it has an inverted-world workflow in which brushes case out the world rather than adding to it. Sounds weird at first but it’s amazing when creating indoor scenes. A room is nothing but a single brush. Changing its form in any way is a matter of changing the brushes shape.
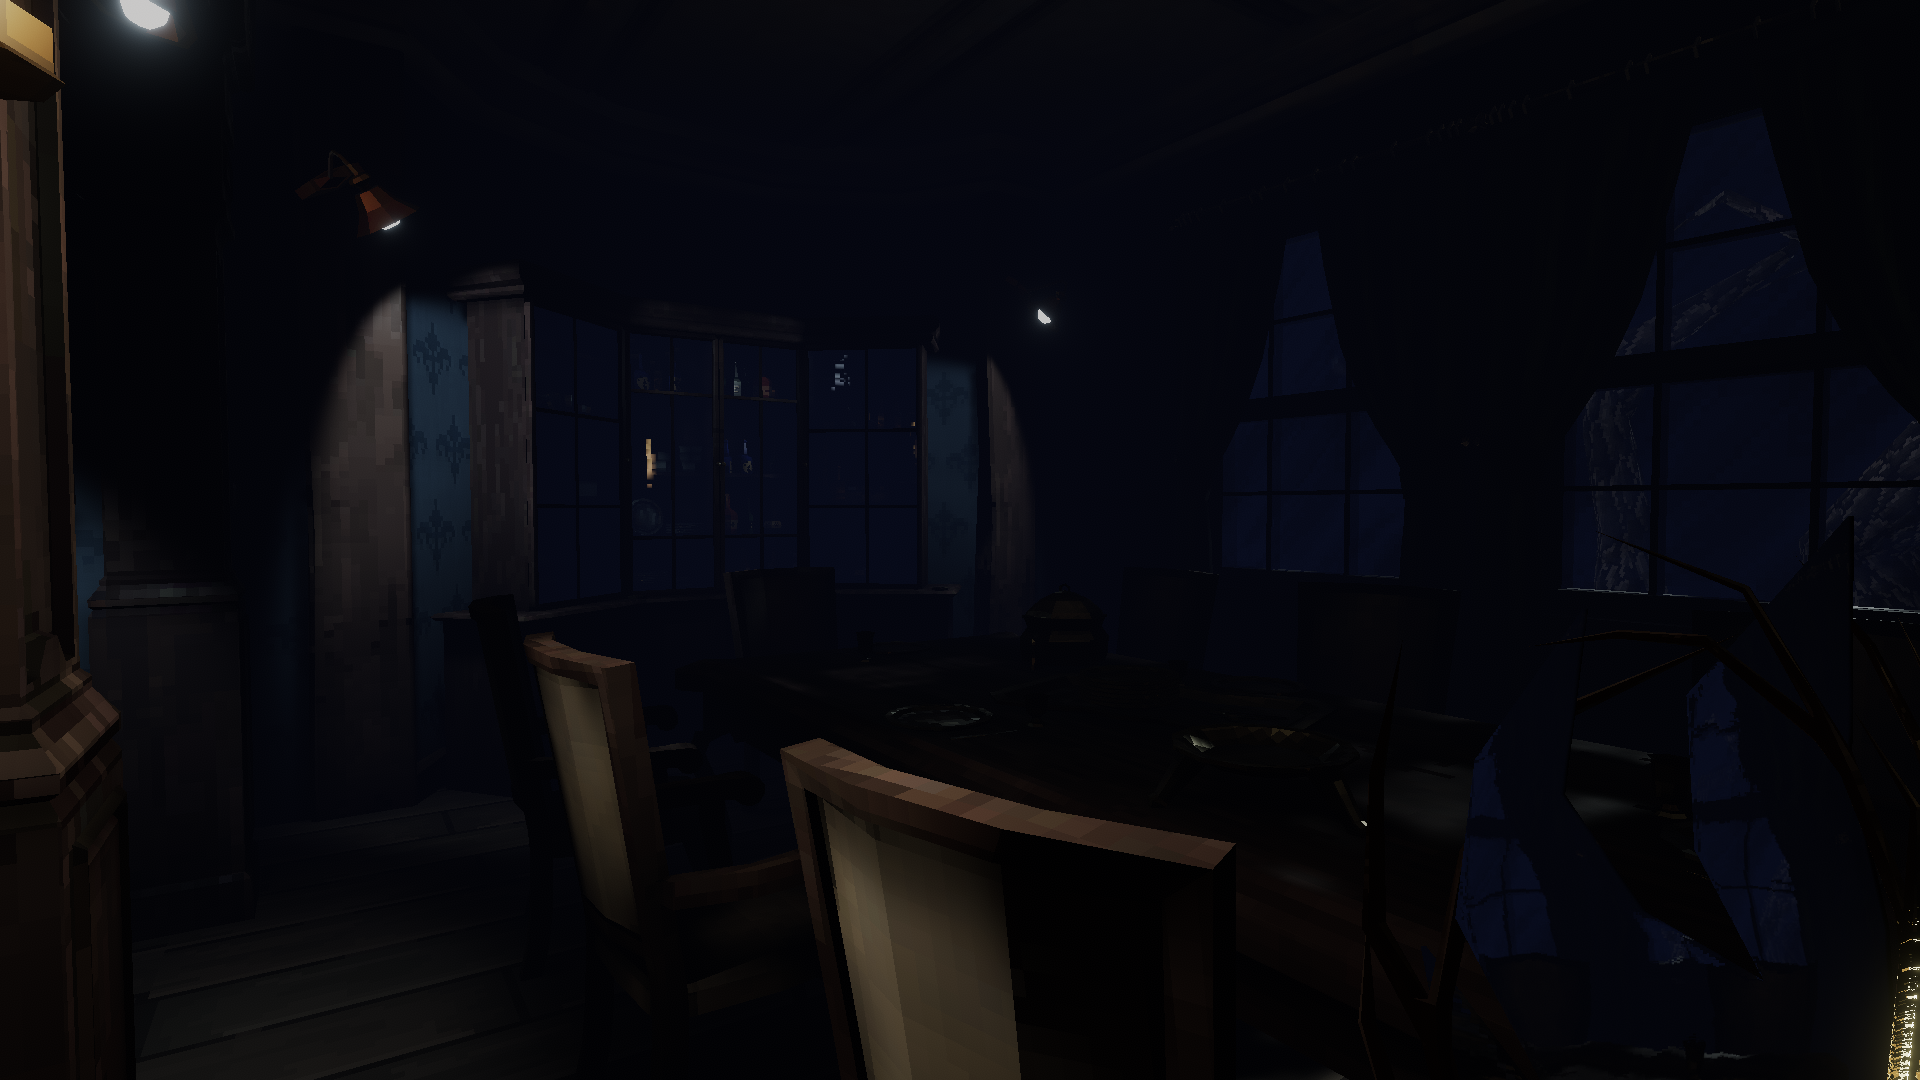
Now that we have a room to look at, it’s time to light it. In that regard there are two topics that need consideration.
First: The light design. What kinds of lights do we want, which colours should they have and what purpose will they serve?
Second: The technical question of what kind of light model should we use?
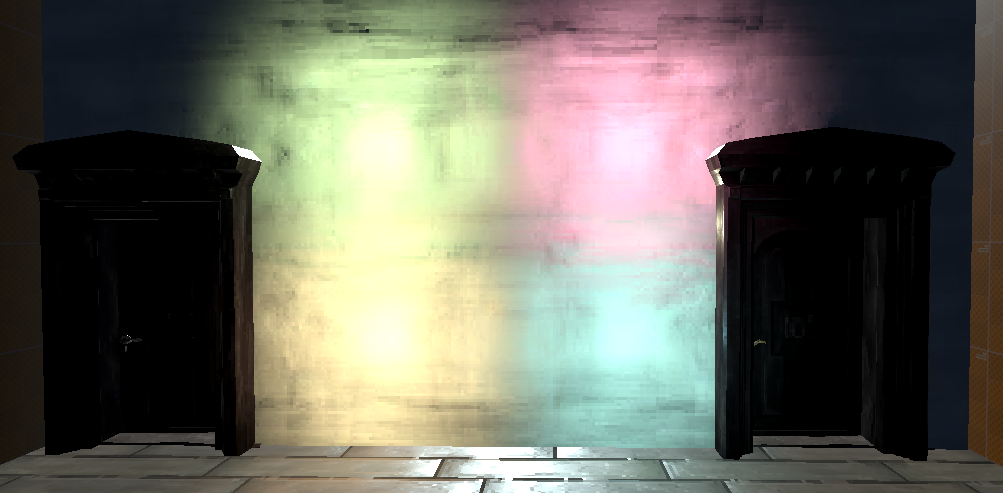
On the design side, we went for the classic yellow and blue light colour scheme. Just because it looks good and fits well in the game theme. Gas lights tend to have a yellowish colour.
Truth be told: Eletrical lights will have had a yellow-ish glimmer at the time (1880s) just as well. But a contrast colour is needed for good lighting so blue it was.
But why does it look good like it does? Simply because blue and yellow are complementary colours. It works with any colour you pick. Try it and see your lighting improve. But don’t overdo!
How about the lighting though? We don’t want to require a beefy super computer to run the game. So we decided that realtime lighting isn’t the way to go. Although many are doing it. We went with a technique that comes with Unity called Shadowmasks.
It creates lightmaps (static lighting) in which lights contribute indirect light (that part of the light that is reflected off of surfaces and such) and shadows. Their direct light will be realtime though.
That means: The most costly part (shadows) of the lights will be baked but wen can still get the good PBR rendering stuff.
And that’s what it looks like:

Not bad at all I should think. And you won’t need a super computer to play this at a decent framerate.
…
Hopefully …
Cheers anyway!
Comments
Log in with itch.io to leave a comment.
Nice! The screenshots look very good.
Love the atmosphere. Keep it going you seem on a good path!